Pre-Solar Roof Assessment
A roof inspection before you sign a solar contract checks shingle age, deck condition, ventilation and framing. It tells you whether the roof will outlast the panels or needs work first.
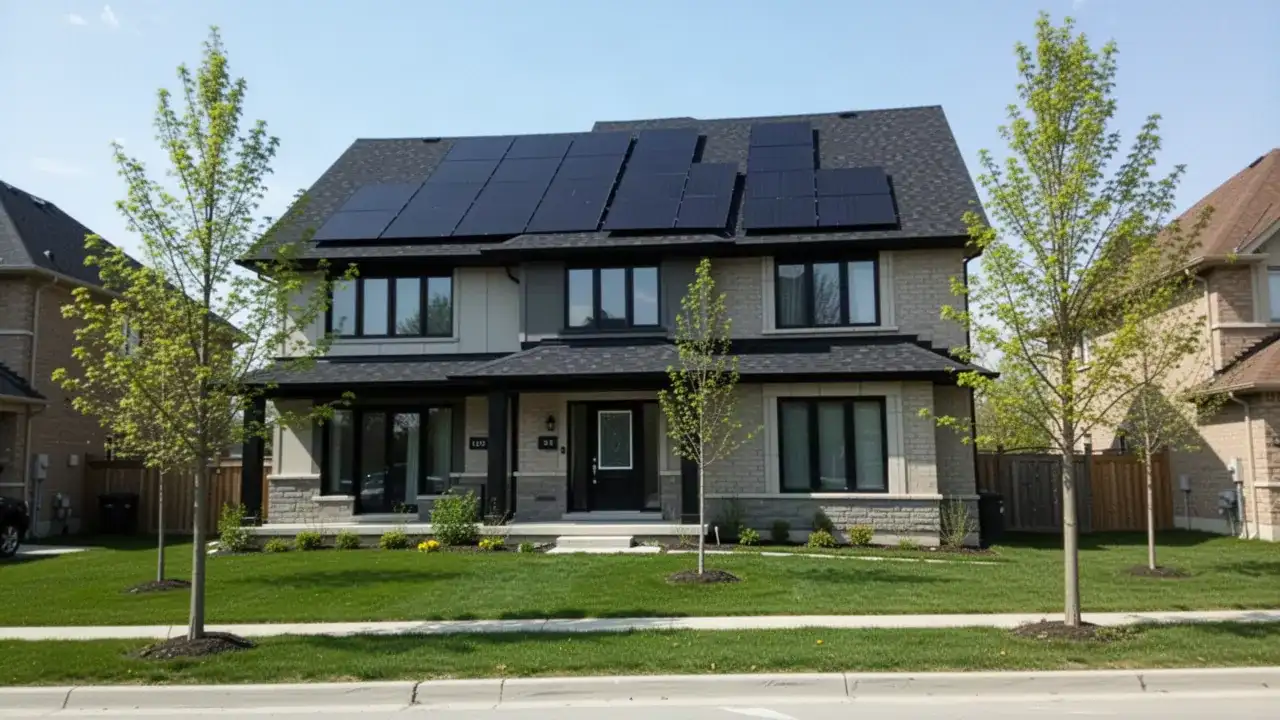
Solar panel roof installation in Burlington involves two trades, and Fixall Roofing handles the roofing side: preparing the roof, flashing every mount into the shingles and repairing leaks under existing arrays. That side deserves attention, because most solar-related roof leaks start at a mount that was sealed with caulk instead of properly flashed.
We work with homeowners planning a new system, owners whose array has started to leak, and owners who need panels taken off so the roof beneath them can be replaced. Each of those jobs comes back to the same question: will the roof under the panels last as long as the panels do?
We do not do electrical work. Disconnecting, wiring and reconnecting panels must be done by an electrical contractor holding a licence from the Electrical Safety Authority (ESA), so we coordinate with your solar company or electrician on every job.
Solar companies specialize in panels, inverters and wiring. Our part is making sure the roof under the array stays dry for as long as the panels are producing power.
A roof inspection before you sign a solar contract checks shingle age, deck condition, ventilation and framing. It tells you whether the roof will outlast the panels or needs work first.
We install or verify roof attachments that are lagged into rafters and flashed under the shingle course above. Your solar installer then sets rails and panels on a watertight base.
When the roof under an array wears out, the panels come off, the roof is replaced and the panels go back on new flashed mounts. We schedule the electrical shutdown and reconnection with your electrician.
We trace leaks to failed mounts, cracked flashing or debris dams under the panels, then repair them with as little panel removal as possible.
Galvanized or coated mesh around the array perimeter keeps squirrels and pigeons from nesting under the panels, where they chew wiring and trap debris.
Solar panels typically carry 25-year performance warranties and often keep producing well beyond that. An asphalt shingle roof that is already 12 to 15 years old will likely need replacing while the panels are still in their prime, which means paying for a detach and reset that could have been avoided.
If your shingles are curling, losing granules or approaching 15 years, a roof replacement before the panels go up is usually the cheaper path over the life of the system. We line up the timing so the solar installer can start soon after the new roof is finished.
Weight is the other question. A typical residential array with racking adds roughly 3 to 4 pounds per square foot, which most modern roofs carry easily, but older homes with undersized rafters, sagging ridgelines or past fire or water damage may need structural reinforcement first.
Standing seam steel is the most solar-friendly roof surface. Panels attach with clamps that grip the raised seams, so there are no holes through the roof at all, and the steel will last as long as the array; ask us about metal roofing if you are planning both.
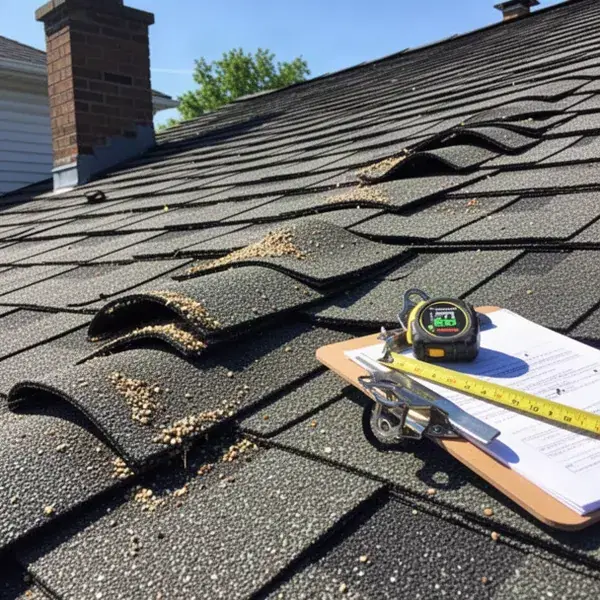
A typical array uses dozens of roof attachments, and each one is a hole through your roof. Flashed mounts use an aluminum flashing plate that slides under the shingle course above, so water is shed over the penetration rather than relying on sealant alone.
Sealant-only mounts, where an L-foot is screwed through the shingles with a bead of caulk or a butyl pad, can pass a rain test on day one. After several Ontario freeze-thaw cycles the sealant shrinks and cracks, which is why we see so many leaks from them.
We find rafter centres from the attic or with a stud finder and probe, so each lag bolt bites into solid framing rather than just the deck.
The sealant strip on the course above is carefully broken so the flashing can slide up without tearing shingles. In cold weather we warm the shingles first to prevent cracking.
We drill a pilot hole and fill it with a compatible roofing sealant, so the lag bolt seals the hole as it goes in.
Flashed attachment systems such as QuickMount PV or IronRidge FlashFoot2 go in to the manufacturer's spacing and torque. The flashing sits under at least one full course and over the course below.
Lifted shingles are hand-sealed back down so wind cannot catch them. The solar installer then mounts rails to finished, watertight attachment points.
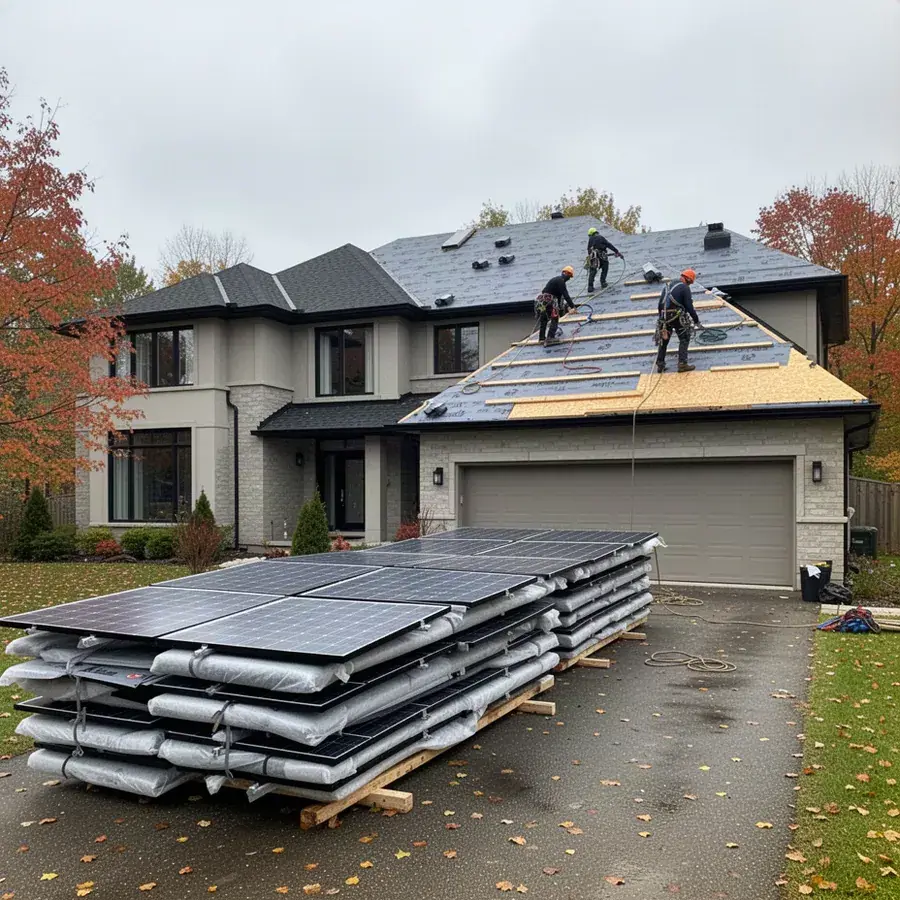
A detach and reset starts with your electrician or solar company safely shutting the system down and disconnecting the panels. We then remove panels and rails, label them by position and store them on site on padded racks away from the work zone.
Once the old mounts are pulled, we replace the roof, including new underlayment and new flashed attachments set into the fresh shingles. Panels go back in their original positions, and the electrician reconnects and recommissions the system.
Most homes need one day to remove panels, one to three days for the roof and one day to reinstall, with the electrical visits booked around those dates. Before the work, check with your original solar installer whether third-party removal affects their workmanship warranty, and keep the paperwork from both trades together.
Panels hide the roof, so problems underneath often go unnoticed until a ceiling stain appears. We remove only the panels needed to reach the problem whenever the racking allows it.
Sealant-only attachments, lags that missed rafters and cracked flashing plates are the usual culprits. We retrofit flashed mounts and seal abandoned holes properly.
Leaves, maple keys and needles collect behind the top row of panels and hold water against the shingles. That trapped moisture shortens shingle life and can back water up under the courses.
The sheltered gap under an array is ideal for nesting, and the droppings and chewed wire that follow are a fire and maintenance problem. After clearing nests, we install mesh critter guards clipped to the panel frames, with no drilling into the modules.
Watch for early signs: ceiling stains on the top floor below the array, birds flying in and out under the panels, or heavy granule build-up in the eavestrough beneath them. Any of these is worth a look before the next freeze-thaw season.
Winter adds one more issue. Snow slides off smooth glass panels in a single sheet, which can bend eavestroughs and bury lower roofs, so on steeper arrays we often recommend snow guards along the lower edge.
Under the Ontario Building Code, a roof-mounted solar array larger than about 5 square metres generally needs a building permit, and municipalities often ask for a structural review by a professional engineer. Your solar company usually applies for this through the City of Burlington's building department.
The electrical side is regulated separately. Your electrical contractor files a notification with the Electrical Safety Authority and arranges the required inspection.
To connect to the grid and earn net metering credits, the system must also be approved by Burlington Hydro, which has its own application process for small residential systems. Requirements change, so confirm current rules with the City and Burlington Hydro before work begins.
Usually yes, if the roof has less than about half its expected life left. Panels can produce power for 25 years or more, and removing and reinstalling them mid-life adds a cost that a new roof up front avoids.
They can, if the mounts are not installed to the shingle or metal manufacturer's requirements. Ask your roofing manufacturer about penetrations before installation, and keep records showing flashed attachments were used.
Most residential systems fall in roughly the $2,500 to $7,500 range for removal and reinstallation, depending on panel count, roof pitch, racking type and electrical fees. We price your system after seeing it on the roof, and any new roofing is quoted as a separate line.
Whether you are comparing solar quotes, chasing a leak under an existing array or replacing a roof with panels on it, we start with a roof assessment and a clear written scope. If an electrician is needed, we tell you exactly when in the schedule.
The roofing labour on solar jobs carries our 1-year warranty, while new shingles, flashing and membranes keep their manufacturers' coverage.
Phones answered 24/7, including emergencies.